


Your first loaf is not a test of talent. It is a test of attention. Most disappointing first breads fail for small, correctable reasons: dough too wet to handle, salt forgotten until the last minute, a shaped loaf left sitting while the oven crawled up to temperature. None of that is a mystery. These are things you can check, one at a time, before the dough ever goes near the oven. What follows is the list I would hand to anyone baking a first sourdough or yeasted loaf — ten points to run through from the moment you weigh the flour to the moment your blade touches the surface.
Before You Measure: Flour, Water, and Honest Hydration
Hydration is the weight of water divided by the weight of flour, written as a percentage. At 70 percent, a kilo of flour takes 700 grams of water. Beginners do well between 65 and 75 percent: slack enough to develop properly, firm enough to shape without a fight. Chasing an 85 percent dough because it looks impressive on video is a good way to spend your first bake fighting a puddle.
Two practical habits matter more than the exact number. First, hold back roughly five percent of the water and add it only if the flour asks for it. Flours vary in how much they absorb, bag to bag, season to season. Second, mind the water temperature. If your kitchen is warm, use cool water; if it is cold, use water at blood temperature. A dough that finishes mixing around 24 to 26°C will ferment predictably, and predictability is worth more to a new baker than any recipe detail.
Salt belongs in the dough at about two percent of the flour weight — roughly 20 grams for a kilo of flour. Weigh it. Forgetting it produces bread that tastes flat and stale in a way you cannot fix later.
Mixing and Kneading: Look for the Windowpane, Not the Timer
Recipes say "knead for ten minutes" because it is easy to write, not because your dough has a schedule. What you are actually building is a gluten network strong enough to trap gas. The test is simple: pinch off a walnut-sized piece, flatten it gently, and stretch it between your thumbs. If it goes translucent without tearing — a windowpane — you are done. If it rips into a ragged hole, keep going.
Wet doughs are easier to develop with stretch-and-fold cycles than with kneading on a floured bench. Every thirty minutes during the first part of bulk fermentation, wet your hand, lift one side of the dough, stretch it up and fold it over the middle. Rotate the bowl and repeat four times. Three or four rounds of this does more for a slack dough than twenty minutes of frustrated kneading. Keep the bench scraper nearby; it is the cheapest confidence you can buy.
Bulk Fermentation: Read the Dough, Not the Clock
Recipes give times because clocks are convenient, but dough responds to temperature and to itself. A dough at 25°C may be ready in four hours; the same dough at 19°C may need six or seven. Judge by the following cues instead.
- Rise: the dough has grown by half again to three-quarters of its starting volume, not doubled.
- Surface: it domes slightly and shows small bubbles just under the skin.
- Feel: it is airy and slightly jiggly when you shake the bowl.
- Touch: a floured finger pressed in leaves an indent that fills back slowly, not instantly.
If the dough is still tight and springs back hard, it needs time. If it is sticky, exhausted, and smells sharply sour, it has gone too far — bake it anyway as a flatbread or focaccia and shorten the bulk next time.
The final proof is a different question
Once shaped, the loaf is asking whether it is ready for heat. Press a floured fingertip a centimetre into the side: a slow, partial spring back means ready; a dent that stays means overproofed; a fast bounce means wait another twenty minutes. Cold-retarding a shaped loaf in the fridge overnight widens your margin for error considerably, and it makes scoring far easier.
Shaping: Tension Is the Whole Point
Shaping is not about making a pretty ball; it is about creating a taut outer skin that holds the gases your fermentation worked to produce. Divide, then preshape into a loose round and leave it seam-side down for fifteen to twenty minutes. The dough relaxes, and a relaxed dough cooperates.
For the final shape, keep your bench flour light. Too much flour on the surface means the dough slides instead of gripping, and you cannot build tension on a slippery bench. Cup your hands around the dough, drag it toward you with a little friction, and let the surface tighten. Pinch the seam firmly. If the dough fights back, rest it five minutes and try again rather than forcing it flat.
Scoring Readiness: The Blade Should Meet No Resistance
A loaf that is properly proofed and shaped still scores badly if the surface is damp. The skin should feel dry to the touch — tacky, not sticky. If it is not, give it ten more minutes uncovered, or use the cold retard, which dries the surface nicely.
Use a sharp blade, held at a shallow angle — around 45 degrees — and cut decisively with one confident stroke rather than several hesitant ones. A single slash down the length is all a first bake needs. Dull tools drag and deflate, and hesitation does the same thing. Score immediately before the loaf goes into the oven.
The Ten-Point Checklist Before Your First Bake
- Hydration chosen and water held back. Start at 65 to 75 percent and add the reserved water only if the flour takes it.
- Salt weighed, not eyeballed. Around two percent of the flour weight, added before mixing finishes.
- Dough temperature checked. Aim for 24 to 26°C after mixing; adjust your water temperature next time.
- Gluten developed. A stretched piece goes translucent before it tears.
- Bulk fermentation judged by the dough. Roughly 50 to 75 percent growth, a domed surface, and a slow-filling indent.
- Preshape and bench rest done. Fifteen to twenty minutes, seam-side down, before the final shape.
- Tension built in the final shape. A tight skin, a firm seam, and light bench flour.
- Final proof tested. A fingertip dent springs back slowly and partially.
- Surface dry and blade sharp. Score once, at a shallow angle, right before baking.
- Oven and vessel fully preheated. Forty-five to sixty minutes at your baking temperature, with the Dutch oven or stone already hot.
Notes for the Second Bake
Preheat properly and the rest is patience: load the loaf, cover it, bake, then uncover for the last stretch to colour the crust. Let it cool completely before slicing, which is the hardest instruction in bread baking and the one most worth following.
Keep a short record of three numbers — hydration, dough temperature, and bulk fermentation time — plus one line about how the loaf looked and tasted. Change only one of them next time. That habit, more than any recipe, is what turns a first bake into a repeatable one.
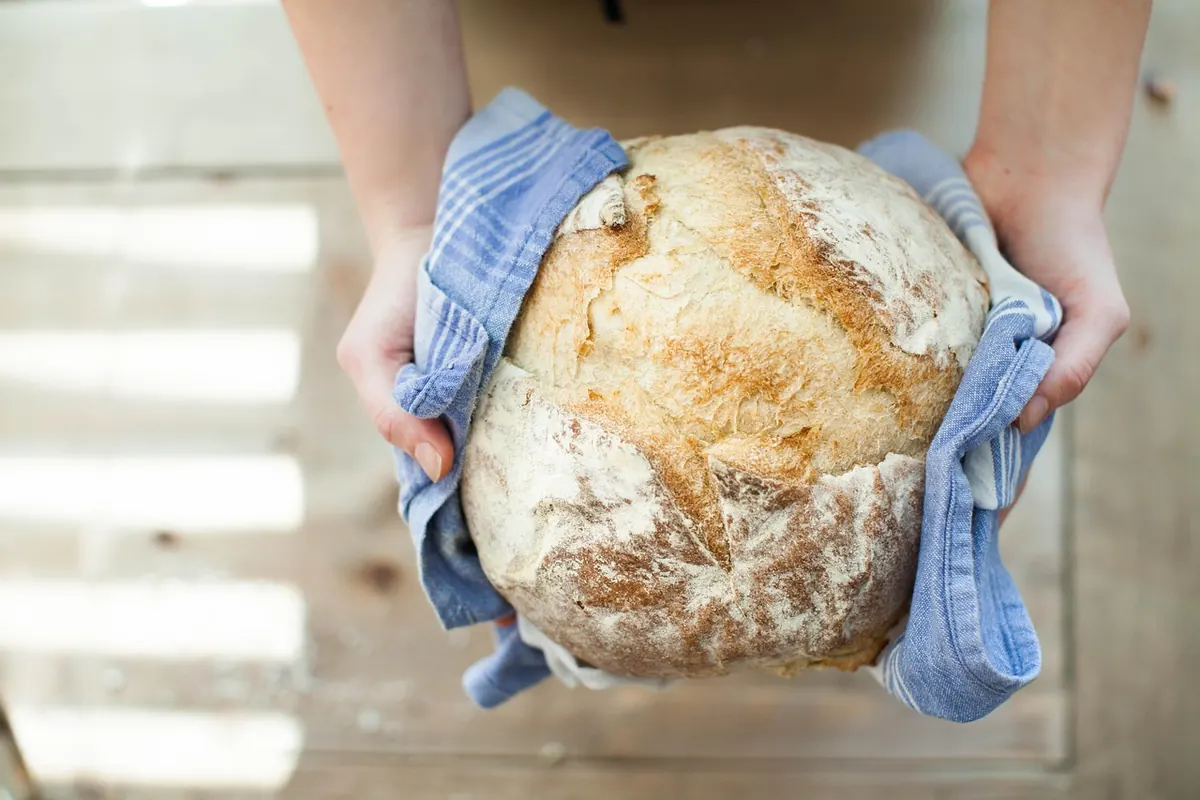
Photo: fancycrave1 / Pixabay
Related posts
More stories you’ll love reading